 Save
SaveEasy Home-Made Pita Bread
Pita bread brings back so many childhood memories for both of us. As kids, we always used to eat it for breakfast, lunch, dinner, and snacks! Sometimes all in one day! If you ask Dawud, pita bread is called Lebanese bread, but if you ask Janina, it's called Persian bread. We both were convinced! 🙈 Actually, it is mostly known as Arabic bread, Lebanese bread, or khubz. In the western world, most people know it as pita bread. Do you know any other bread that goes by so many different names? 😄 However, it clearly is a type of bread that is very common throughout the Middle East and we love it!
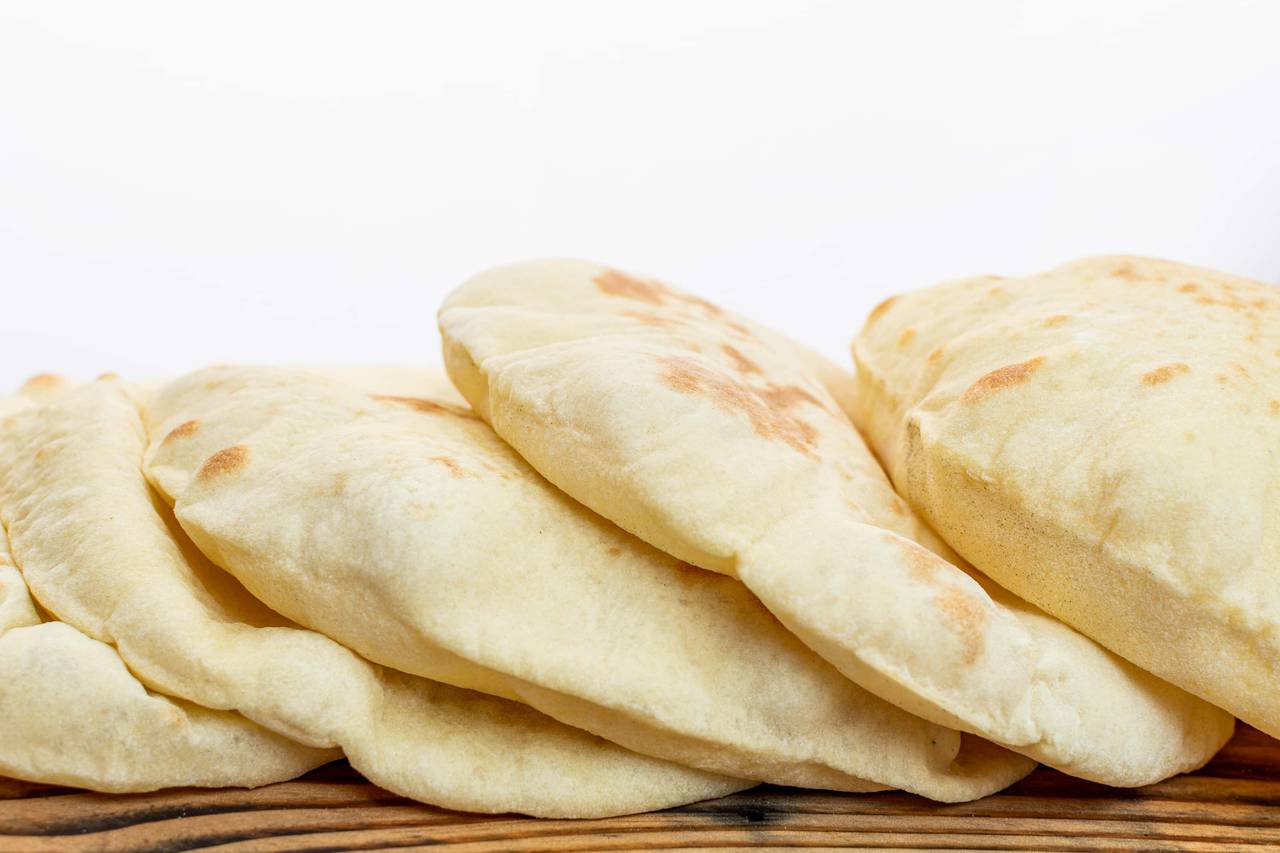
Pita bread belongs to the family of yeast-risen flatbreads. The most common version has one big pocket. As a result, it can be opened up easily and stuffed with all sorts of delicious foods like falafel, tomato, feta cheese, and salad. Pita bread is also great to eat with dips like hummus. If you ask our dads, you can eat pita bread with literally anything and all the time. You name it!😊
As with almost all foods, pita bread is the best and most delicious home-made. And it is surprisingly easy and quick to make and requires only a few ingredients that most people have in their pantries.
We are really excited to share this recipe with you and can't wait to hear what you think about it! 💛
 Save
SaveEasy Home-Made Pita Bread Recipe
Ingredients
Lukewarm water is considered to be somewhere between 37 ºC (98 ºF) and 40 ºC (105 ºF). It should feel pleasantly warm but definitely not hot. In water above 40 ºC (105 ºF) the yeast will be killed slowly, which we do not want.
Sugar is needed as food for the yeast. Mixed together it produces CO2, which makes the bread blow up - exactly what we want! We used brown sugar, but any sugar works fine.
Instructions
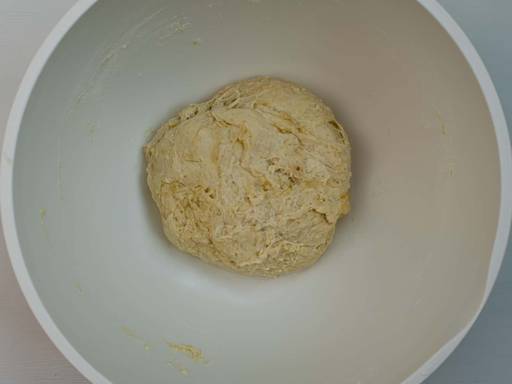
Step 1:
In a bowl, mix all ingredients together until no dry flour is visible and let it rest for about 10 minutes.
Letting it rest will allow the flour to hydrate. Afterward, the dough should be a lot less sticky and easier to knead.
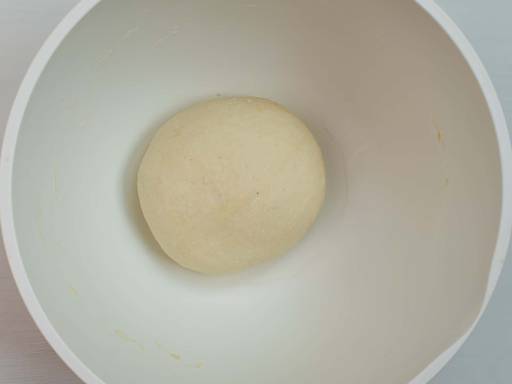
Step 2:
Take the dough out of the bowl and knead it for a few minutes until you can form a cohesive and elastic ball.
If you want to prepare the dough ahead of time, you can store the formed ball of dough in a covered bowl in the fridge for up to 24 hours. Make sure to let the dough get back to room temperature before continuing with the next step.
If the dough is too sticky, suppress the urge to add more flour and instead, let it rest for another 10 minutes.
Step 3:
To let the dough rise, put the formed ball back into the bowl, cover the bowl with a tea towel, and place it in a warm draft-free place.
We always put it inside the oven with nothing but the oven light on.
After about 60 to 90 minutes the dough should have doubled in volume.
Tip: The easiest way to measure if the dough doubled in volume is by letting the dough rise inside a measuring cup.
Step 4:
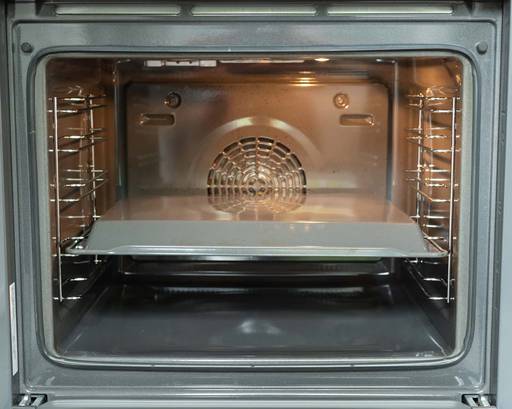
Place a pizza stone or oven tray (upside down) in the oven.
Heat up the oven to the highest temperature possible (make sure to take the bowl and dough out first, if that's where you stored it!). Our oven goes to 275 ºC (527 ºF).
The high temperatures are needed to make the dough puff.
Step 5:
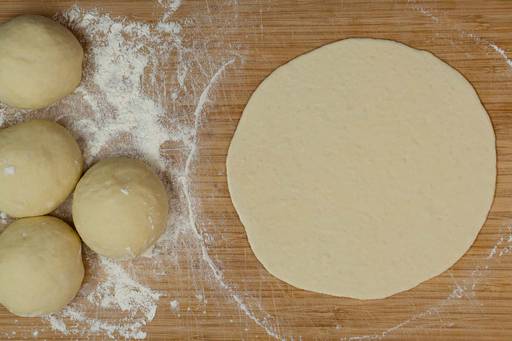
Divide the dough into 5 equal parts. Turn each part into a nice round ball. Let the balls rest under a tea towel for another 10 to 15 minutes.
Step 6:
On a floured surface, flatten each of the balls using a rolling pin. The dough should be about 3 mm (⅛ inch) thick. Make sure that the dough is rolled out flat without any folds or crevices.
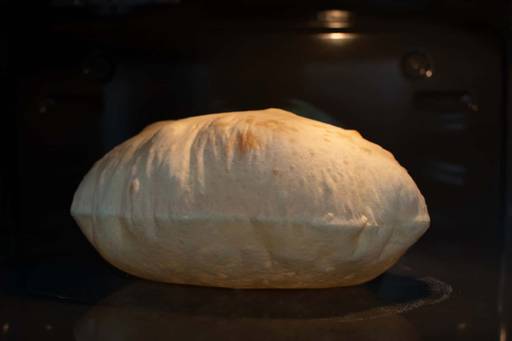
Step 7:
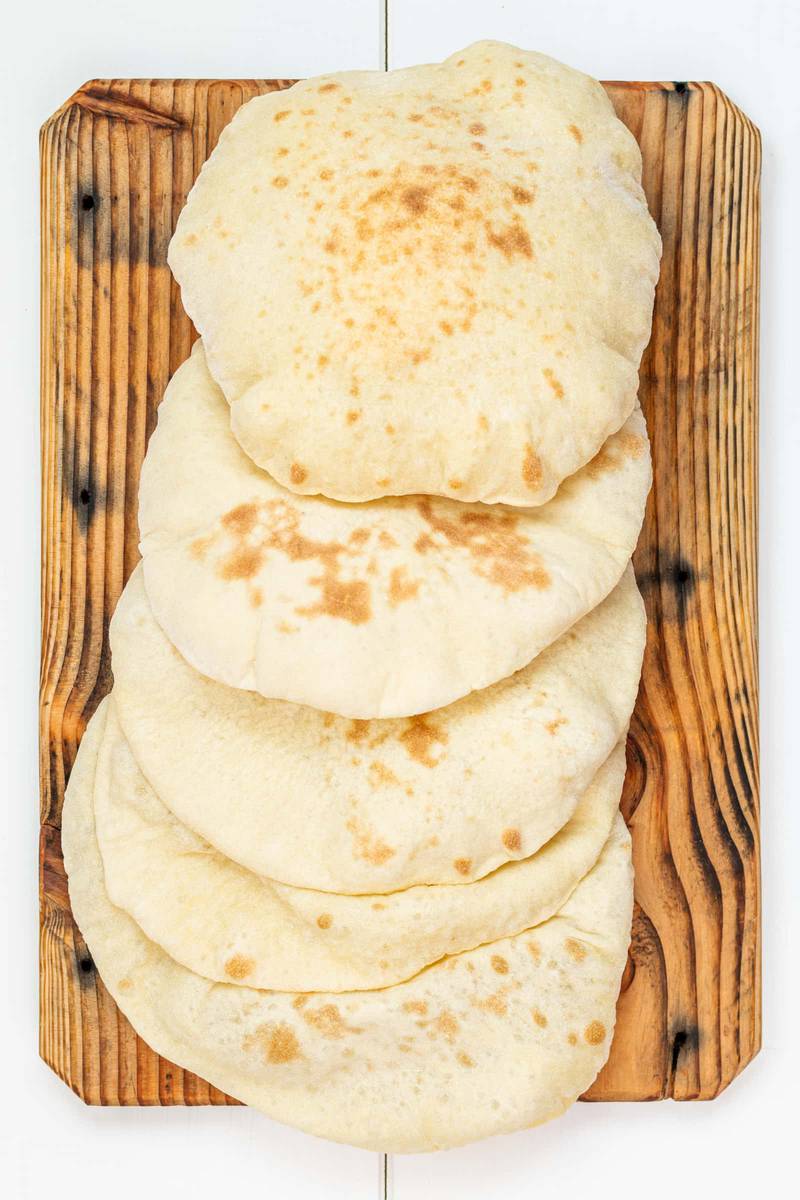
Bake the dough one-by-one by placing the flattened dough directly on the pizza stone or baking tray. After 1 - 2 minutes, the dough will blow up like a balloon. When that happens give the bread another 60 - 90 seconds until a few light-brown spots start to form. That is when you want to take it out quickly before it burns.
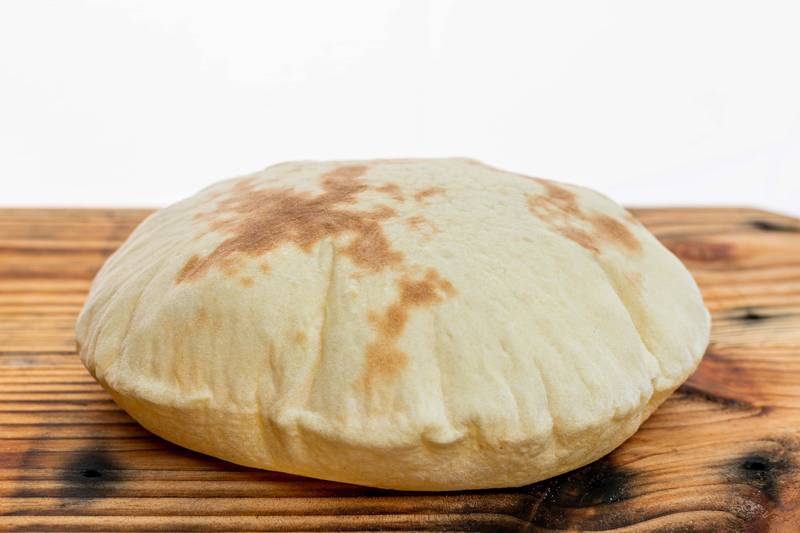
Step 8:
Let the pita bread cool down for a few minutes and deflate until ready to serve.
 Save
Save
sehr sehr leckere brot.